Steganography 101
Steganography
I wrote this for a class, but this material is no longer in it. I thought it was a really fun lecture. I am archiving it here.
Spycraft
Steganography is a type of spycraft. It is a method of hiding data inside of images (Stanger, 2020). This practice has been used for centuries. People want to communicate secretly with others, but need to do it in a public place. They hide the message they want to send inside an image. The image can be posted in a public place. Anyone who sees it will just enjoy it as an image. Only those people that know how the message is encoded can reveal the secret payload within.
In the digital age, this is a common method for spys to communicate. Both traditional spys (like the CIA) or corporate spys use this method. The undercover spy encodes their message into an image. They post it to a public place on the internet. Websites like instagram, twitter, and reddit are perfect places to share images with random people. The image can be view by anyone who visits the website. The person who needs to read the secret message just needs to know what to look for. Once they find the image, they can decode it.
Since the two parties have no direct connection, it is much harder to track them. You may have shared a meme that had a message encoded in it and never known.
As long as both parties know what image to look for, they can communicate. We can imagine our two spies decide on a plan like “on the first tuesday of the month post a picture of blue sneakers to Reddit Sneakers using a username that contains a w”. No one except the target would have any clue they were watching a secret message being passed.
One message can even contain the instructions for the next message (like a linked list). This way there would be no pattern to the images.
Images
An image is a collection of pixels. A pixel is a solid colored square. We can represent an image as a big matrix. Every pixel in the image has an $(x,y)$ location. That pixel has a color value. If we put all the colored pixels in the right places, we get our image.
The color of an image is represented by 4 values called the RGBA values. There are three colors and an alpha value for transparency.
- R is the red value
- G is the green value
- B is the blue value
- A is the alpha transparency level
Every color that can be displayed in an image can be created by mixing these values.
Each color value can take a value between 0 and 255. The pixel is a 32-bit value made up of three 8-bit colors and one 8-bit alpha value. To make an image, we just need to store the pixels in a matrix and be able to determine where they all go.
It is useful to talk about a color as a 3-tuple (r,g,b). We won’t use alpha in this example. If we set all three colors to zero we get pure black (0,0,0). If we set all three colors to 255 we get pure white (255,255,255).
We can use these colors. This sentence is colored in with (199, 56, 113). Since we have three 8-bit numbers that means we can store 16,777,216. A human has a very hard time determining the difference between two colors that are very similar. This sentence is colored in with (198, 56, 113). The second sentence has a red shade that is 1 darker than the early paragraph. Can you tell the difference?
If we take a picture of a real thing, the difference will be even harder to find. First off, real pictures are made up of tons of different by very similar colors. Secondly, real pictures are made of many pixels. Changing just one here or there will be impossible to notice.
Hiding Text
Let us imagine we are two spies that need to send messages to each other. We want to send a file of text with our latest update. The data we want to send is just pure text. That means it can be stored in ASCII.
Remember that every character can be represented by a number.

You can look up the ASCII Code and match characters to letters.
If we want to represent the letter “a” it has character code 97. We can then represent 97 as a binary value. In binary 97 is 0110 0001. Each character takes exactly 8 bits.
We can hide our bits in side a pixel. We store 1 bit in each color code. We place our bit in the last digit of the color code. That means we can fit 3 bits in each pixel. We need 3 pixels to fit a whole letter, with one extra bit.
Since we only change each color by at most one bit in the least significant value, the change will be unnoticable to a human. A computer might be able to find it, but only if they had the original to compare with. Otherwise, there would be no evidence to work with.
Encode
Python 3 has a great library for editing images called Pillow. It can be installed following the instructions. We will implement a simple steganography encoding using Pillow.
In a real situation, no one would encode plain text. You would want to encrypt you message first, then hide it in the image. For this example, that would not help explain the concepts.
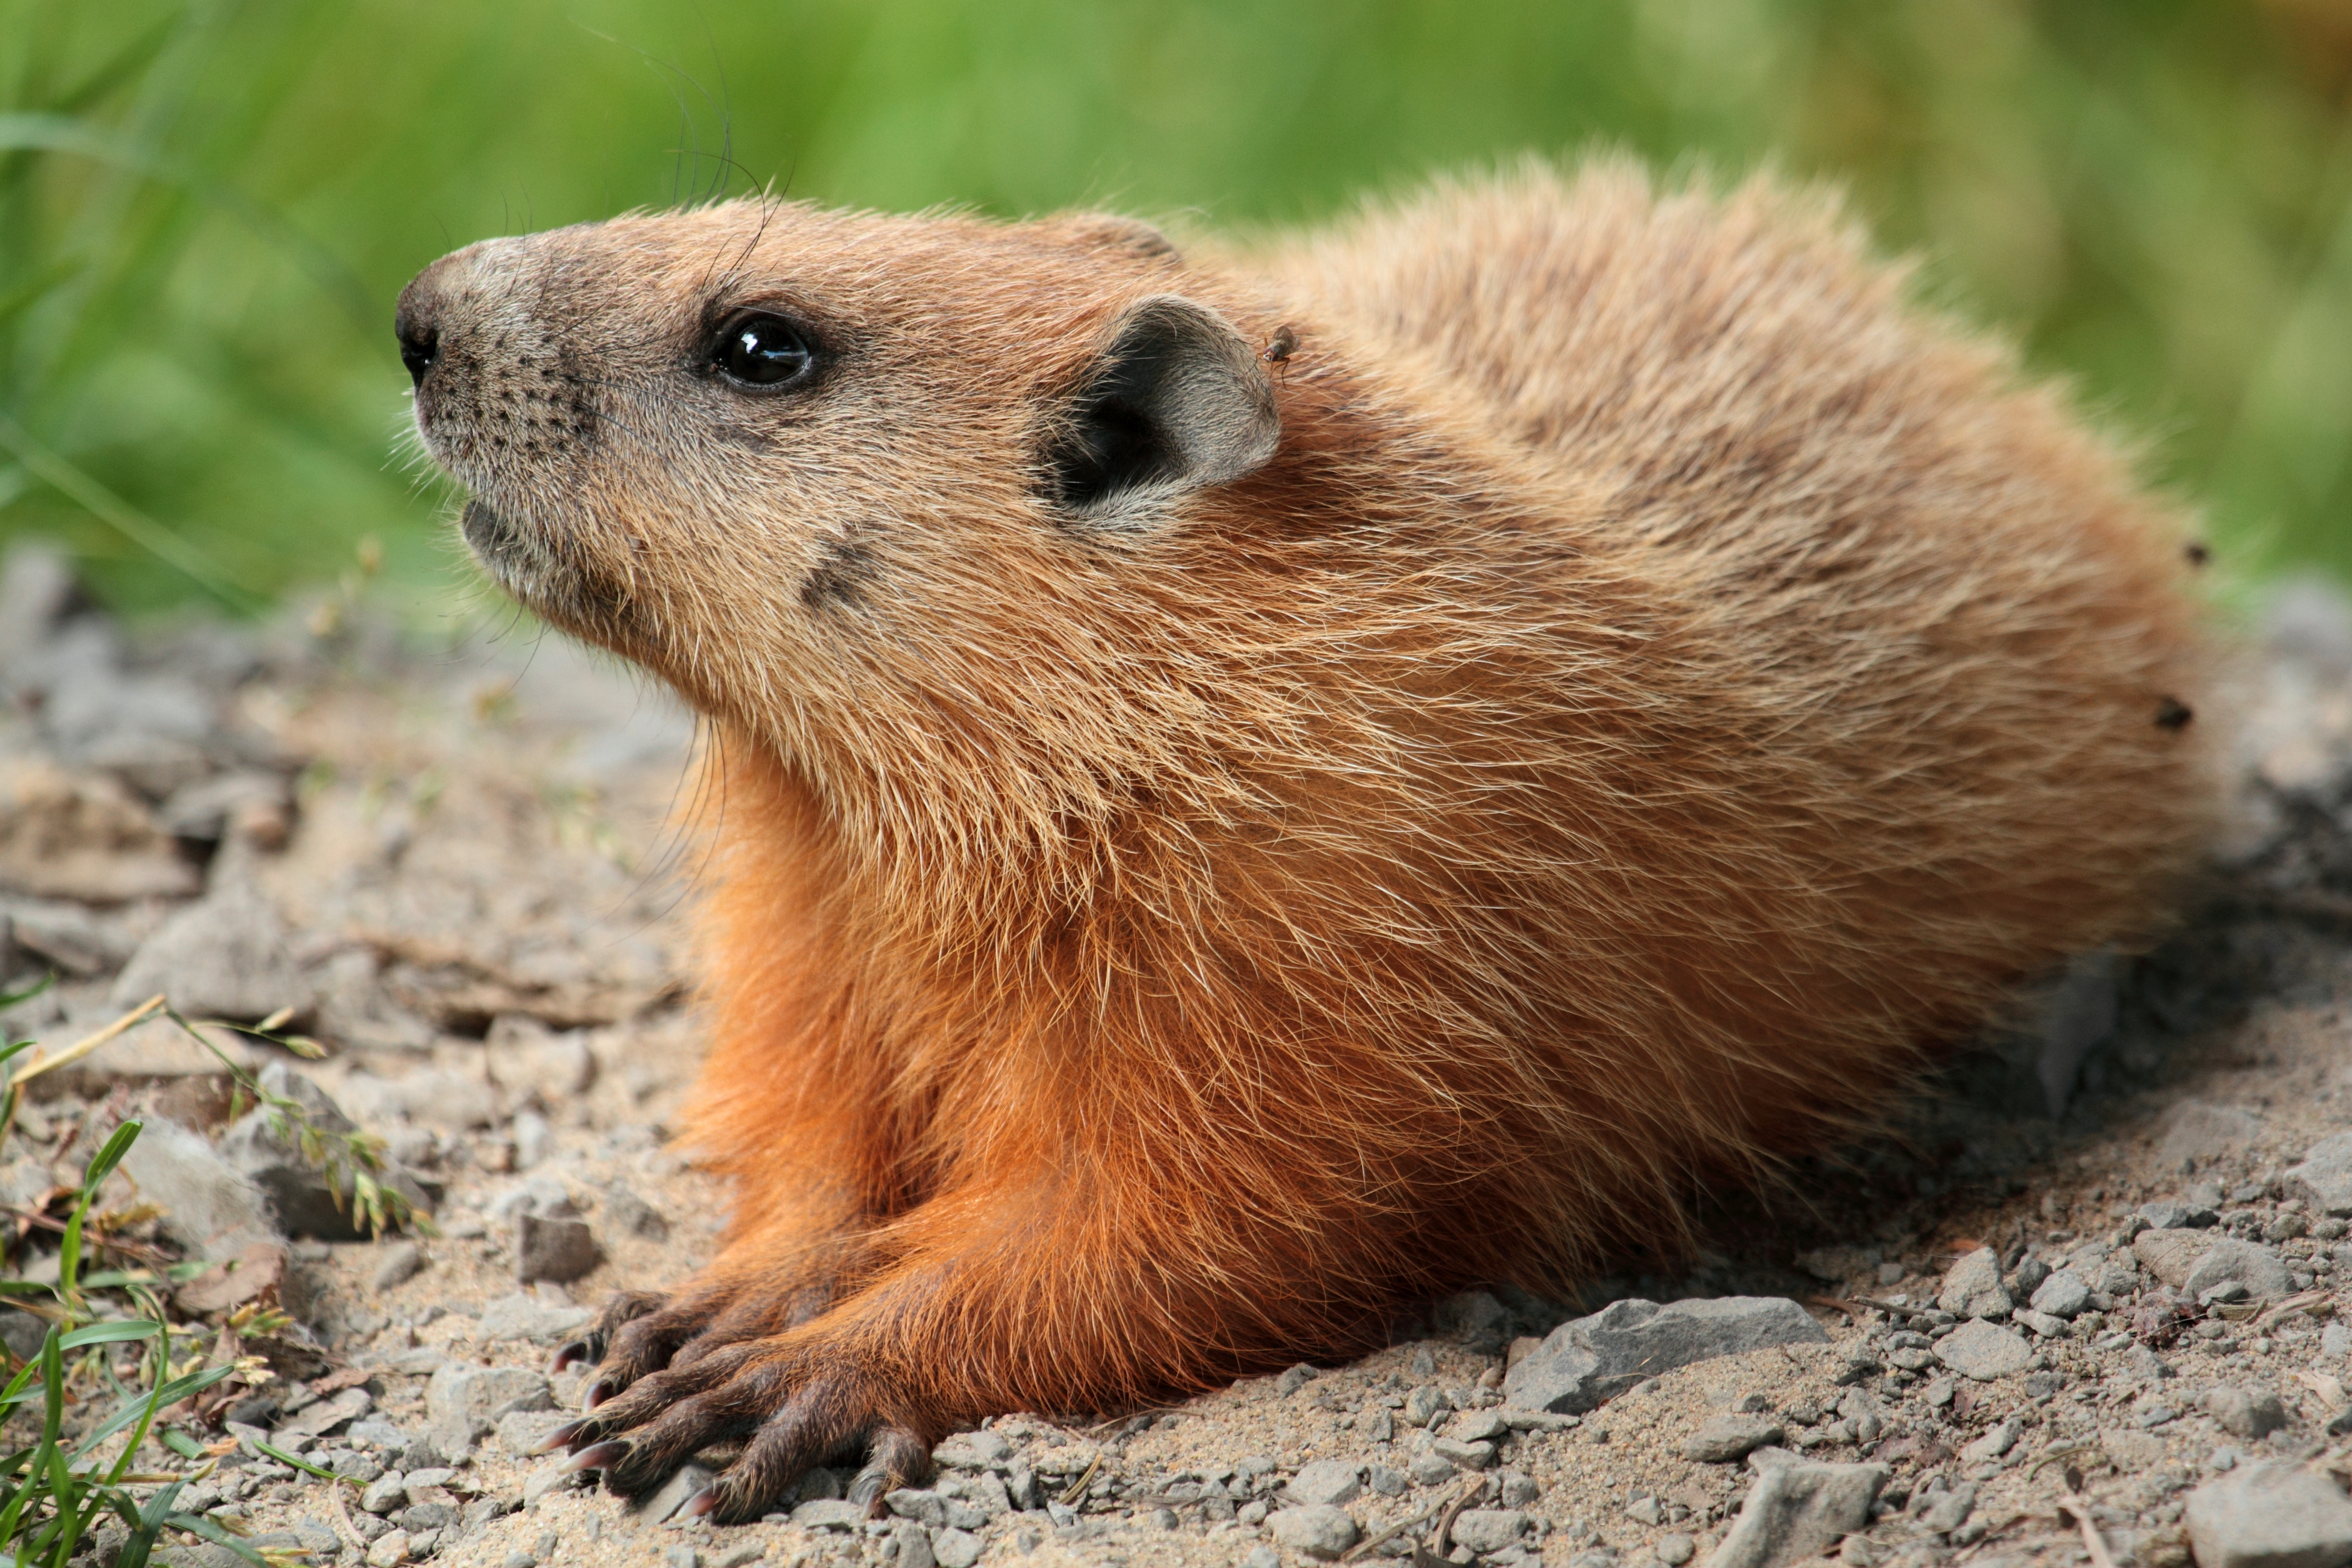
We need an image to hide our message in. We will use this picture of a groundhog from Wikipedia.

By Cephas - Own work, CC BY-SA 3.0, Link
We also need some text to encode. We will use the Hamlet from Project Gutenberg.
We will make this a command line program. We need to take two inputs. We need the name of the image file and the name of the text file. Our program will pick it’s own name for the output file.
#Main function for when called from command line
#Requires name of image and text file.
def main():
    print("This program encodes text secretly into an image.")
    print("Example of Stenography in action.")
    #Not enough arguements
    if len(sys.argv)!=3:
        print("Usage: python3 encode.py [image.jpg] [text.txt]")
        sys.exit(0)
    #Parse the arguments
    imgName = sys.argv[1]
    textName = sys.argv[2]
    #Call the real function
    encode(imgName,textName)
We are not putting entire characters into the image all at once. We are only adding one bit at a time. We need a method to find the $n$-th bit of a string. We can determine what index that bit is by dividing by 8. Then we can take the right bit out of that letter.
#A string is just an array of characters.
#A character is an array of bits.
#This function returns the target-th bit
#of the text.
def bitAt(target,text):
    #Determine which character the bit is part of
    position = target//8
    #If a bit outside the text is requested
    #put 0.
    if position >= len(text):
        return 0
    #Determine that bit the user wants
    #We count the highest order bit as index 0
    bit = target%8
    #Get the ASCII value of the character
    letter = ord(text[position])
    #Determine the value of the bit's location
    targetBit = int(2**(7-bit))
    #Determine if the bit is set to 1 or 0
    if (targetBit & letter) == targetBit:
        return 1
    return 0
Once we have a bit, we need to encode it as part of a color. This function makes the color code even or odd based on the bit given.
#Encode a Single Bit into a color
#We want the last bit of the color
#to be the encoded bit.
#If the bit is 1 we need the color to be odd
#If the bit is 0 we need the color to be even
#Returns the new color code
def encodeBit(color,bit):
    #If the color already has the right bit
    #Nothing to do
    if color%2==bit%2:
        return color
    #The bit is wrong, we need to subtract
    #or add 1.
    #We can't subtract 1 from 0.
    #We can't add one to 255
    if color==0:
        color+=1
    else:
        color-=1
    #Return the new color we created.
    return color
To encode an entire message into an image, we just loop over both the image and the file. For every pixel in the file, we add three bits.
#Encode a text file into an image.
#Takes an image and a text file.
#Outputs as new image with _encode added to name.
def encode(imgFile, textFile):
    print("Hiding text of {:s}".format(textFile),end="")
    print(" inside {:s}.".format(imgFile))
    #Step 1: Make Sure we can read the image
    try:
        #Load the Image
        im = Image.open(imgFile)
        #Convert the image to an array of pixels
        pix = im.load()
    except Exception as e:
        print("Image File could not be read.")
        print(e)
        return
    #Step 2: Read the text file in
    try:
        file=open(textFile,"r")
        text=file.read()
        file.close()
    except Exception as e:
        print("Text File Count not be read.")
        print(e)
        return
    #Step 3: Make sure the file has enough space
    xMax = im.size[0]
    yMax = im.size[1]
    #The total pixels is x*y
    totalPixels = xMax*yMax
    #We can fit 3 bits per pixel
    totalBits = 3*totalPixels
    #We need full 8-bit spaces
    #and 8 bits for 00000000 to end the file
    totalChars = (totalBits-(totalBits%8)-8)//8
    #Print out stats
    display1="The image can hold {:d} characters."
    print(display1.format(totalChars))
    #How many characters does the file have
    neededChars = len(text)
    display2="The text file uses {:d} characters."
    print(display2.format(neededChars))
    if neededChars > totalChars:
        print("Image is to small to hide text.")
        return
    #Step 4: Encode the text into the image
    #We start at the first bit in the file
    bitLocation=0
    #For every pixel on the y axis
    for y in range(0,yMax):
        #for every pixel on the x axis
        for x in range(0,xMax):
            #Get the current pixel's red value
            #encode the bit and move on
            r = pix[x,y][0]
            nextBit = bitAt(bitLocation,text)
            r = encodeBit(r,nextBit)
            bitLocation+=1
            #Encode another bit into green value
            g = pix[x,y][1]
            nextBit = bitAt(bitLocation,text)
            g = encodeBit(g,nextBit)
            bitLocation+=1
            #Encode a third bit into blue value
            b = pix[x,y][2]
            nextBit = bitAt(bitLocation,text)
            b = encodeBit(b,nextBit)
            bitLocation+=1
            #Change the color value in the image
            pix[x,y] = (r,g,b)
    #Step 5: Save the file
    filenameSplit = os.path.splitext(imgFile)
    newFilename = filenameSplit[0]+"_encoded.bmp"
    #Save as a BMP so none of your bits are compressed away
    im.save(newFilename)
    print("New Image Saved as {:s}".format(newFilename))
We can run this program on our example image.
This program encodes text secretly into an image.
Example of Stenography in action.
Hiding text of text/hamlet.txt inside img/marmota.jpg.
The image can hold 5981080 characters.
The text file uses 196991 characters.
New Image Saved as img/marmota_encoded.bmp
We save the output image as a BMP or TIFF file. These image formats have no compression, so we can be sure every pixel will stay exactly how we want it. This method can be modified for compressed images like JPG, but this requires making changes the compression won’t effect. A BMP/TIFF file is easier to work with but much larger.
The image below has the entire text of Hamlet encoded in it. Can you tell any difference between this and the original?
Decode
The decode program only needs one things as input, the image to decode. It makes its own file for the output. The main program is given below.
#Main Program for Command Line Use
def main():
    print("This program decodes secret text",end="")
    print(" hidden in an image.")
    print("Example of Stenography in action.")
    #Check for right command line arguments
    if len(sys.argv)!=2:
        print("Usage: python3 decode.py [image.bmp]")
        #Quit Program
        sys.exit(0)
    #Parse Command Line Arguments
    img = sys.argv[1]
    #Decode the image
    decode(img)
We need to look over every pixel in the file. For every pixel, we read three bits in. We only get a character every 8 bits. This function takes our secret bit out of the pixel color and returns a character when one is reached.
#When we read a bit we add it to the bit array.
#When we hit the 8th bit we make it a character.
#Otherwise, we return the null string.
#Get the bit from the color
def add(color,bits):
    #Determine the last bit of the color
    bit = color%2
    #Add to array of bits
    bits.append(bit)
    #If this is the 8th bit
    #We have a letter
    if len(bits)==8:
        #Determine the letter
        num = convert(bits)
        #Erase the bits
        bits.clear()
        #Return non-null characters
        if ord(num)!=0:
            return num
    #Return the empty string
    #Not enough bits yet
    return ""
When we have 8 bits collected, we can turn them back into a character using the following function.
#Convert an array of 8 bits to a character
#We read the bits as we go, so we can
#Only convert them to characters every 8 bits.
def convert(bits):
    #Place to store the number
    num=0
    #Loop over the bits
    for i in range(0,len(bits)):
        #The bit at index i
        #is the bit for 2^(7-i)
        num = num + bits[i]*(2**(7-i))
    #return the character
    return chr(num)
Decoding an image just requires looping over every pixel in the image and extracting our secret message. We write the characters directly to a file.
#Decode the image and save it in [imagename].txt
def decode(imgFile):
    print("Decoding {:s}".format(imgFile))
    #Step 1: Open the file
    try:
        #Load the image file
        im = Image.open(imgFile)
        #Get the pixels as an array
        pix = im.load()
    except Exception as e:
        print("Could not open image.")
        print(e)
        return
    #Step 2: Open a file to write into
    #Create New File Name
    fileParts = os.path.splitext(imgFile)
    newFile = fileParts[0]+"_decoded.txt"
    #Open file for writing
    try:
        output=open(newFile,"w")
    except Exception as e:
        print("Cannot open file to write.")
        print(e)
        return
    #Step 3: Loop over pixels
    xMax = im.size[0]
    yMax = im.size[1]
    #Make an empty array to store bits
    bits=[]
    #Loop over image
    for y in range(0,yMax):
        for x in range(0,xMax):
            #Write the text as we read it
            r = pix[x,y][0]
            output.write(add(r,bits))
            g = pix[x,y][1]
            output.write(add(g,bits))
            b = pix[x,y][2]
            output.write(add(b,bits))
    #Step 4: Close the file
    output.close()
    print("Output Written to {:s}".format(newFile))
Running the program decodes the image.
This program decodes secret text hidden in an image.
Example of Stenography in action.
Decoding img/marmota_encoded.bmp
Output Written to img/marmota_encoded_decoded.txt
The beginning of the decoded text is given below.
The Project Gutenberg eBook of Hamlet, by William Shakespeare

This eBook is for the use of anyone anywhere in the United States and
most other parts of the world at no cost and with almost no restrictions
whatsoever. You may copy it, give it away or re-use it under the terms
of the Project Gutenberg License included with this eBook or online at
www.gutenberg.org. If you are not located in the United States, you
will have to check the laws of the country where you are located before
using this eBook.

Title: Hamlet

Author: William Shakespeare

Release Date: November 1998 [eBook #1524]
[Most recently updated: March 27, 2021]

Language: English

Character set encoding: UTF-8

Produced by: Dianne Bean

*** START OF THE PROJECT GUTENBERG EBOOK HAMLET ***
Conclusion
This method allows us to hide large amounts of text inside images. We can then retrieve the text from the image later. The changes to the image are so small that no human should be able to detect them. It should also be nearly impossible for a computer to detect them without having the original picture.
We can make our code even more secure by deciding on more elaborate ways to store the text. We could encode it using an encryption scheme before we store it. We could also only use some pixels. For example, we could only use only the blue component of every second pixel. The more elaborate the scheme is, the more our changes will looks like complete gibberish.
We can then post the pictures on any public place and be confident that no one will decode it except the intended recipient.
References
James Stanger. The ancient practice of steganography: what is it, how is it used and why do cybersecurity pros need to understand it. 2020. [Online; accessed 24-July-2021]. URL: https://www.comptia.org/blog/what-is-steganography.
Full Python Scripts
Full Encode Script
#Mark Boady
#Drexel University 2021
#Steganography Example

#This program takes a jpg image and
#a text file.
#It encodes the text into the pixels
#of the image and saves the result as a lossless
#bmp image.
#We need a lossless format to ensure the message
#is not changed by any websites.

#We need a library to work with images
#This can be installed with PIP if you don't have it.
from PIL import Image
#For working with file names
import os.path
#For command line arguments
import sys

#A string is just an array of characters.
#A character is an array of bits.
#This function returns the target-th bit
#of the text.
def bitAt(target,text):
    #Determine which character the bit is part of
    position = target//8
    #If a bit outside the text is requested
    #put 0.
    if position >= len(text):
        return 0
    #Determine that bit the user wants
    #We count the highest order bit as index 0
    bit = target%8
    #Get the ASCII value of the character
    letter = ord(text[position])
    #Determine the value of the bit's location
    targetBit = int(2**(7-bit))
    #Determine if the bit is set to 1 or 0
    if (targetBit & letter) == targetBit:
        return 1
    return 0

#Encode a Single Bit into a color
#We want the last bit of the color
#to be the encoded bit.
#If the bit is 1 we need the color to be odd
#If the bit is 0 we need the color to be even
#Returns the new color code
def encodeBit(color,bit):
    #If the color already has the right bit
    #Nothing to do
    if color%2==bit%2:
        return color
    #The bit is wrong, we need to subtract
    #or add 1.
    #We can't subtract 1 from 0.
    #We can't add one to 255
    if color==0:
        color+=1
    else:
        color-=1
    #Return the new color we created.
    return color

#Encode a text file into an image.
#Takes an image and a text file.
#Outputs as new image with _encode added to name.
def encode(imgFile, textFile):
    print("Hiding text of {:s}".format(textFile),end="")
    print(" inside {:s}.".format(imgFile))
    #Step 1: Make Sure we can read the image
    try:
        #Load the Image
        im = Image.open(imgFile)
        #Convert the image to an array of pixels
        pix = im.load()
    except Exception as e:
        print("Image File could not be read.")
        print(e)
        return
    #Step 2: Read the text file in
    try:
        file=open(textFile,"r")
        text=file.read()
        file.close()
    except Exception as e:
        print("Text File Count not be read.")
        print(e)
        return
    #Step 3: Make sure the file has enough space
    xMax = im.size[0]
    yMax = im.size[1]
    #The total pixels is x*y
    totalPixels = xMax*yMax
    #We can fit 3 bits per pixel
    totalBits = 3*totalPixels
    #We need full 8-bit spaces
    #and 8 bits for 00000000 to end the file
    totalChars = (totalBits-(totalBits%8)-8)//8
    #Print out stats
    display1="The image can hold {:d} characters."
    print(display1.format(totalChars))
    #How many characters does the file have
    neededChars = len(text)
    display2="The text file uses {:d} characters."
    print(display2.format(neededChars))
    if neededChars > totalChars:
        print("Image is to small to hide text.")
        return
    #Step 4: Encode the text into the image
    #We start at the first bit in the file
    bitLocation=0
    #For every pixel on the y axis
    for y in range(0,yMax):
        #for every pixel on the x axis
        for x in range(0,xMax):
            #Get the current pixel's red value
            #encode the bit and move on
            r = pix[x,y][0]
            nextBit = bitAt(bitLocation,text)
            r = encodeBit(r,nextBit)
            bitLocation+=1
            #Encode another bit into green value
            g = pix[x,y][1]
            nextBit = bitAt(bitLocation,text)
            g = encodeBit(g,nextBit)
            bitLocation+=1
            #Encode a third bit into blue value
            b = pix[x,y][2]
            nextBit = bitAt(bitLocation,text)
            b = encodeBit(b,nextBit)
            bitLocation+=1
            #Change the color value in the image
            pix[x,y] = (r,g,b)
    #Step 5: Save the file
    filenameSplit = os.path.splitext(imgFile)
    newFilename = filenameSplit[0]+"_encoded.bmp"
    #Save as a BMP so none of your bits are compressed away
    im.save(newFilename)
    print("New Image Saved as {:s}".format(newFilename))

#Main function for when called from command line
#Requires name of image and text file.
def main():
    print("This program encodes text secretly into an image.")
    print("Example of Stenography in action.")
    #Not enough arguements
    if len(sys.argv)!=3:
        print("Usage: python3 encode.py [image.jpg] [text.txt]")
        sys.exit(0)
    #Parse the arguments
    imgName = sys.argv[1]
    textName = sys.argv[2]
    #Call the real function
    encode(imgName,textName)

#This is a command line program
#that takes two inputs.
if __name__=="__main__":
    main()
Full Decode Script
#Mark Boady
#Drexel University 2021
#Steganography Example

#This function takes a bmp image with
#text hidden inside it.
#It extracts the text and saves it as a file.

#We need a library to work with images
#This can be installed with PIP if you don't have it.
from PIL import Image
#For working with file names
import os.path
#For command line arguments
import sys

#Convert an array of 8 bits to a character
#We read the bits as we go, so we can
#Only convert them to characters every 8 bits.
def convert(bits):
    #Place to store the number
    num=0
    #Loop over the bits
    for i in range(0,len(bits)):
        #The bit at index i
        #is the bit for 2^(7-i)
        num = num + bits[i]*(2**(7-i))
    #return the character
    return chr(num)

#When we read a bit we add it to the bit array.
#When we hit the 8th bit we make it a character.
#Otherwise, we return the null string.
#Get the bit from the color
def add(color,bits):
    #Determine the last bit of the color
    bit = color%2
    #Add to array of bits
    bits.append(bit)
    #If this is the 8th bit
    #We have a letter
    if len(bits)==8:
        #Determine the letter
        num = convert(bits)
        #Erase the bits
        bits.clear()
        #Return non-null characters
        if ord(num)!=0:
            return num
    #Return the empty string
    #Not enough bits yet
    return ""

#Decode the image and save it in [imagename].txt
def decode(imgFile):
    print("Decoding {:s}".format(imgFile))
    #Step 1: Open the file
    try:
        #Load the image file
        im = Image.open(imgFile)
        #Get the pixels as an array
        pix = im.load()
    except Exception as e:
        print("Could not open image.")
        print(e)
        return
    #Step 2: Open a file to write into
    #Create New File Name
    fileParts = os.path.splitext(imgFile)
    newFile = fileParts[0]+"_decoded.txt"
    #Open file for writing
    try:
        output=open(newFile,"w")
    except Exception as e:
        print("Cannot open file to write.")
        print(e)
        return
    #Step 3: Loop over pixels
    xMax = im.size[0]
    yMax = im.size[1]
    #Make an empty array to store bits
    bits=[]
    #Loop over image
    for y in range(0,yMax):
        for x in range(0,xMax):
            #Write the text as we read it
            r = pix[x,y][0]
            output.write(add(r,bits))
            g = pix[x,y][1]
            output.write(add(g,bits))
            b = pix[x,y][2]
            output.write(add(b,bits))
    #Step 4: Close the file
    output.close()
    print("Output Written to {:s}".format(newFile))

#Main Program for Command Line Use
def main():
    print("This program decodes secret text",end="")
    print(" hidden in an image.")
    print("Example of Stenography in action.")
    #Check for right command line arguments
    if len(sys.argv)!=2:
        print("Usage: python3 decode.py [image.bmp]")
        #Quit Program
        sys.exit(0)
    #Parse Command Line Arguments
    img = sys.argv[1]
    #Decode the image
    decode(img)

#Run main when called from command line
if __name__=="__main__":
    main()